SigParser Automatically Finds
New Contacts & Updated
Contact Details
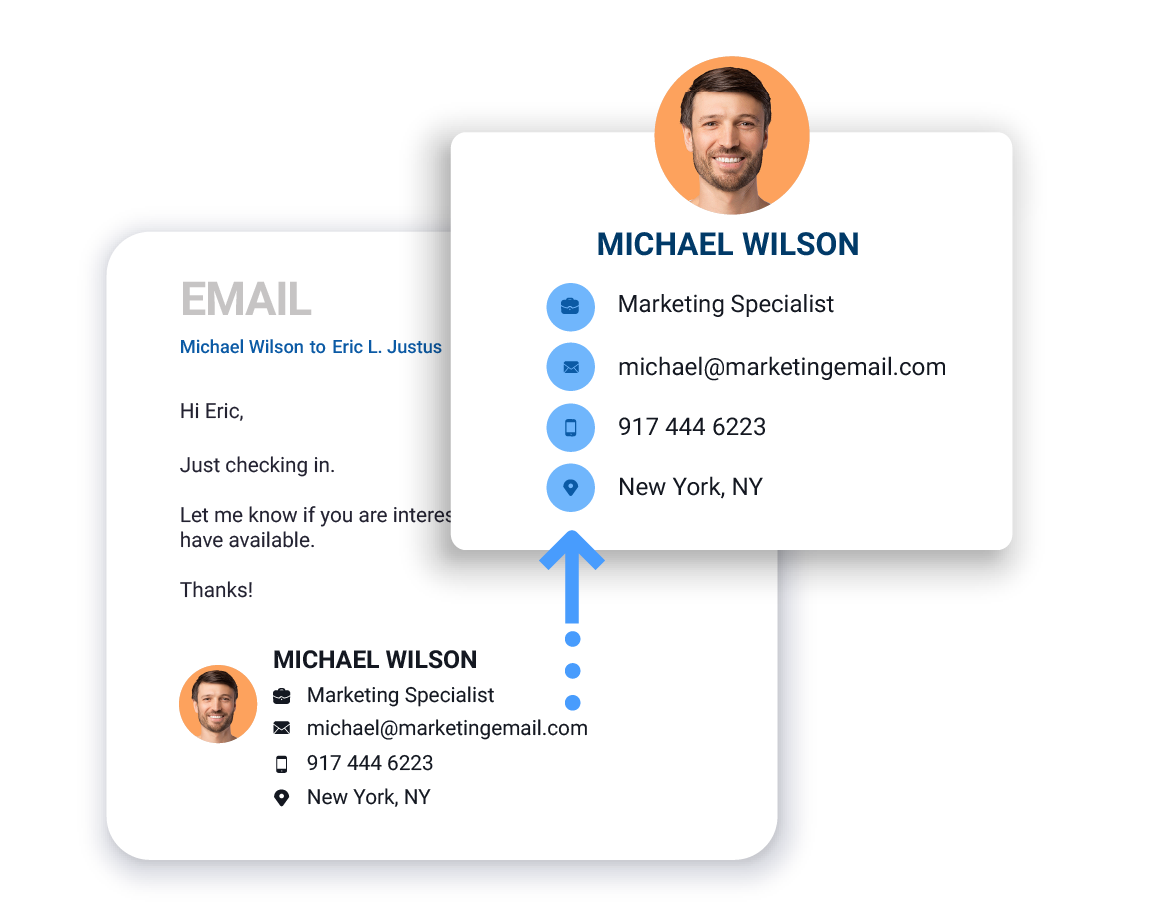
Like all CRMs, Dynamics 365 requires accurate contact and account data to be effective. SigParser keeps Dynamics 365 and other applications up-to-date by scanning employee mailboxes for contact details that often go missing (phone numbers, email addresses, names, business addresses, etc…).
Email Addresses
First & Last Names
Business Names
Phone Numbers
Business Addresses
Social Profiles